Introduction to Python
As we start to develop our Web Stack, the main technology we will use for the back-end server and data processing is Python. Python is a very modern, general-purpose and high-level object-oriented programming language. It has become extremely popular in recent years due to its
- relatively simple syntax
- extensibility through a large collection of external libraries, and
- a huge support community of active users.
Python can now be found not only in software development applications, but also embedded as a scripting language within many other types of software, including GIS software such as ArcGIS and QGIS, and design software such as Rhino. So if you are not a programmer but want to learn one programming language that will provide you the most use no matter what your career, there is a strong argument that the language should be Python. Before starting on development of the actual Web Stack, we will spend some time installing Python, and getting familiar with it by going over some of the very general concepts of computer programming.
Setting up Python
Python is not a piece of software like the type you typically use, but a programming language. Therefore, you do not install and run it in the same way as a typical program. Instead, you install a series of libraries that will exist somewhere on your computer, and will allow you to write and interpret code in the language. The simplest way to install Python is to go to (https://www.python.org/downloads/) and install Python directly to your computer. Although this is relatively painless, when it comes time to extend Python by installing outside libraries (which we will get to soon in this course), things become a bit more difficult. Due to differences between different version of the language and different operating systems, it can be hard to keep track of where files are being installed, where to install the new libraries, and how to make them work with your Python installation.
To address some of these difficulties, several organizations release pieces of software called ‘distributions’, which combine an installation of Python with a custom code editor and package manager, thereby wrapping the entire process of upgrading and writing code into one user interface. Although these distributions are not officially supported by Python, they do make alot of things easier, especially when dealing with different operating systems. The distribution we will use for this class is called Canopy, which offers a free version with limited access to libraries, as well as an Academic license which offers free access to all libraries. The rest of the tutorials will assume you are using Canopy as your distribution and package manager, so if you choose another distribution or ‘roll your own’, please consult related support material with any issues.
Installing Canopy
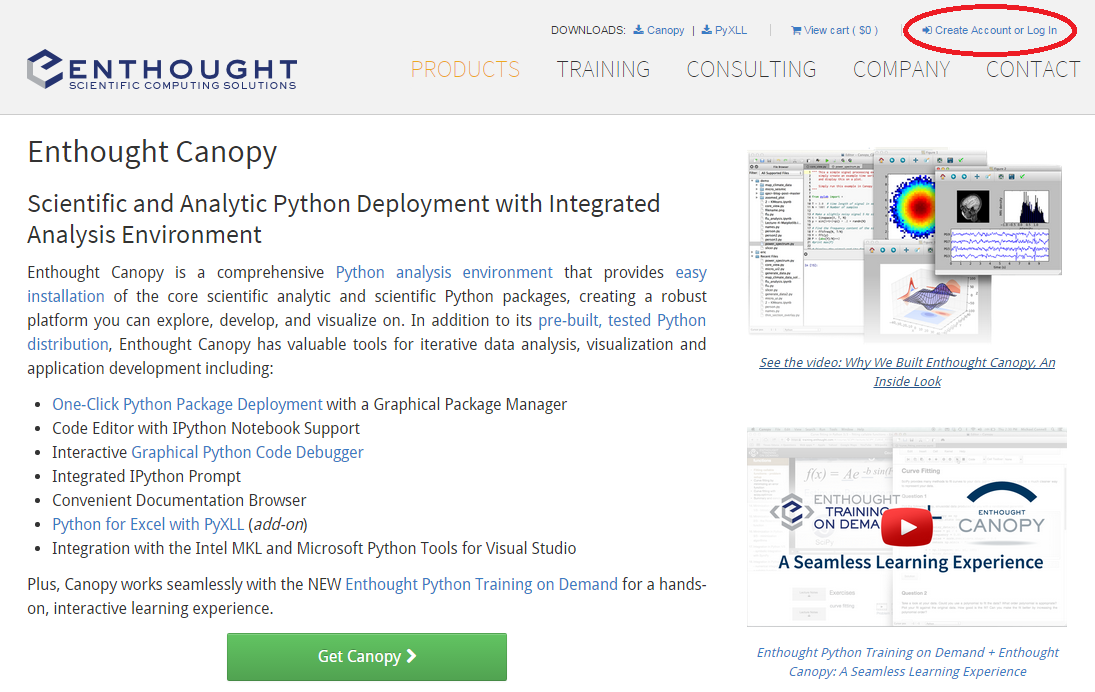
First start by going to the Canopy website and registering for an account using your university email address.
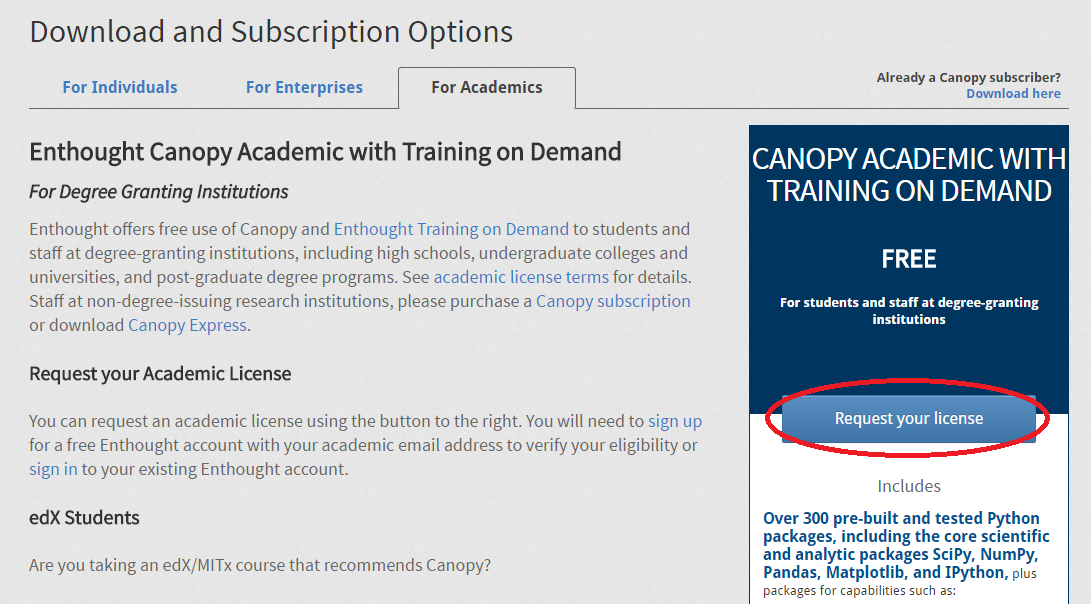
Once you have your account, go to https://store.enthought.com/#canopy-academic and click the button on the right side to request your academic license. As long as you used your university email the process should be pretty straight forward.
After you get the academic license, you should be able to go to your account settings, and on the right side of the page click on ‘Downloads’. This will allow you to choose your operating system and download the complete ‘Canopy Subscriber’ package. For the purposes of this class either the 64-bit or 32-bit package will work. While 64-bit is faster at some tasks, it is not reverse compatible with some libraries, but this should not affect anything in these tutorials.
Once the installer is downloaded, click on it and follow the installation instructions. Depending on your operating system you can choose to install either for a single user or all users. Choose according to your preference, it does not affect the rest of the tutorials. At the end of the installation, click the checkbox to start Canopy. As Canopy is starting for the first time, it will configure your new Python environment. Most of this should be automatic, but if it asks you whether you want the Canopy distribution to be your default environment, or whether it should add any environment variables, you should choose yes.
The Python Environment
Once Canopy is set up, there are basically two ways for you to start interacting with Python. The more intuitive way starting out is to use the Canopy distribution Editor, which you can access by clicking on the Editor button in the main Canopy Screen. Once there you can start typing Python commands directly into the window on the bottom and get instant feedback from the Python interpreter. Try typing this line into the box after the the text ‘In [1]:’ and hit Enter.
In [1]: print 'Hello Python'

Once you hit enter, the code you wrote gets executed by the Python interpreter. In this case you asked it to print a piece of text, and it displays this text following your line of code. Now the interpreter is idle, waiting for the next command.
Another less intuitive but in the end more useful way to interact with Python is by using python directly from the command line. If you are on Windows, go to the Start Menu and search for ‘cmd.exe’ to start the Command Prompt. If you are on Mac or Linux open up the Terminal. Once there type ‘python’ to launch the Python interpreter. As you can see, this launches the same exact interpreter as we were using in the Canopy editor. Now we can interact with Python in the same way by typing commands after the ‘»>’ text.
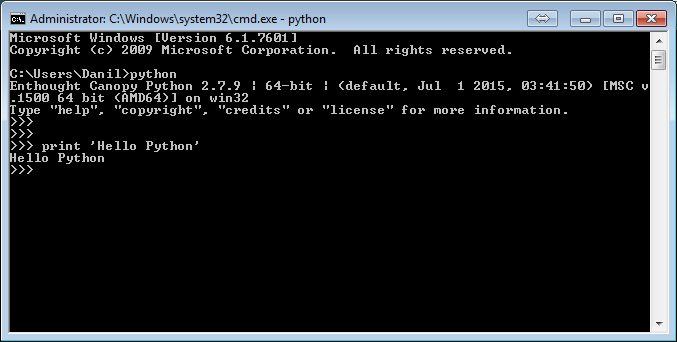
In fact, Python behaves the same exact way whether we work with it from within the Canopy interface or directly from the command line. This is because Python is actually running in the background in both cases, and is not really tied to Canopy. All Canopy is doing is providing a friendly user interface for writing and executing code, and facilitating the installation and organization of external libraries, which we will get to shortly. You can shut down the interpreter and return to the command line any time by typing in the command
exit()
Writing Scripts
Either of these methods work great for experimenting with Python commands, but there is only so much you can do by typing one command at a time. The real power of writing code is developing complex procedures over many lines of code, and then feeding them into the interpreter all at once. To do this we write the code inside of a text file, and then feed that file directly to the interpreter. Once the interpreter gets the file, it will read it line by line, executing each line as it goes. There are again two ways to accomplish this: using the Canopy interface, and directly in the command prompt.
To create a new file in Canopy, click the ‘Create a new file’ button on the top toolbar:

This will create a new blank text file where you can start typing your code. Write the following code starting at line 1:
print 'Hello Python'
print 'Hello again'
Now hit the green arrow icon to run the code through the interpreter.
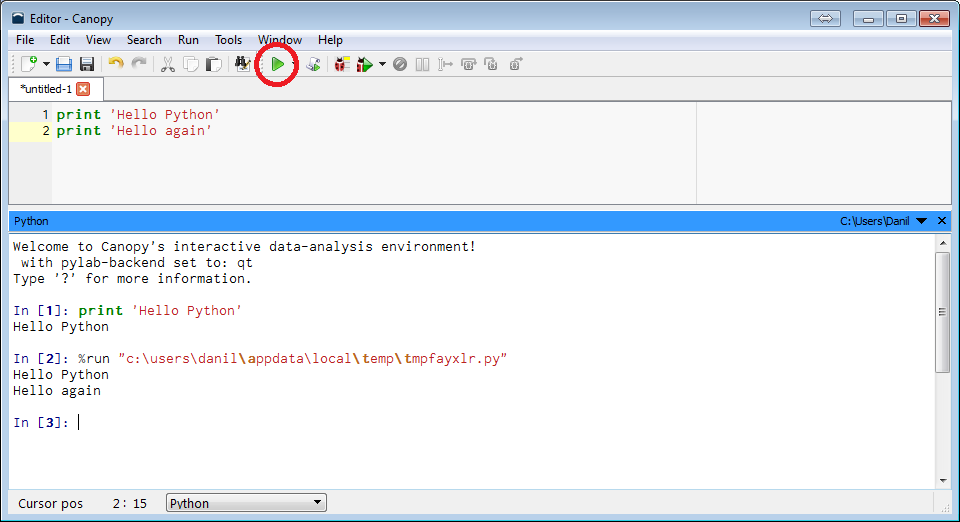
This time the interpreter received the whole script at once (a file containing a sequence of lines of code is commonly referred to as a script) and executed each line in order, first printing out ‘Hello Python’, and then printing out ‘Hello again’. You can see that Canopy has given the script a temporary name, since all scripts have to be saved to the disk before being executed. As you are working on your own scripts make sure to save your work by clicking the save icon on the toolbar and giving it a name ending in ‘.py’. This file extension is really no different than any text file extension such as ‘.txt’, but it lets the text editor know that you are working with Python code so that it can do proper text highlighting. This highlighting will make it easier to work with code and help you spot mistakes along the way.
You can also work with scripts directly from the command line by saving text files as ‘.py’ files on your harddrive, and executing them with Python. To start, open up your favorite text editor (I use Sublime which has great syntax highlighting and editing tools). Paste the same two lines of code from above, and save the file as ‘pythonTest.py’ somewhere on your computer. You can see that as soon as you give it a ‘.py’ extension, Sublime automatically recognizes it as a Python file and starts to highlight the syntax appropriately.
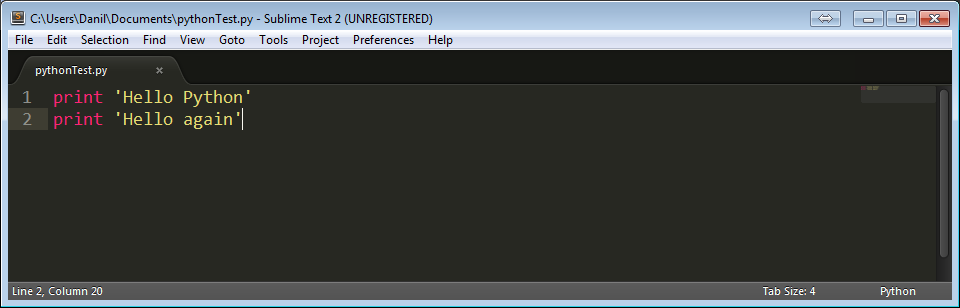
Now open a command prompt, and navigate to the folder where you saved the file. How you do this varies by operating system, but you can search for basic tutorials and lists of commands for both Windows and Mac/Linux. A nice shortcut in Windows is to go to the directory you want to work in and Shift+right-click anywhere in the directory. This will give you advanced options, including to open a command prompt already navigated to that folder.
Once you have navigated to the folder, type in ‘python pythonTest.py’. This will launch the Python interpreter and process all the code in the ‘pythonTest.py’ file. Notice in this case there is no line that starts with ‘»>’, meaning there is not an instance of the interpreter running to interact with. The interpreter only launches to read the file, executes every line, and then exists automatically when the code is processed.
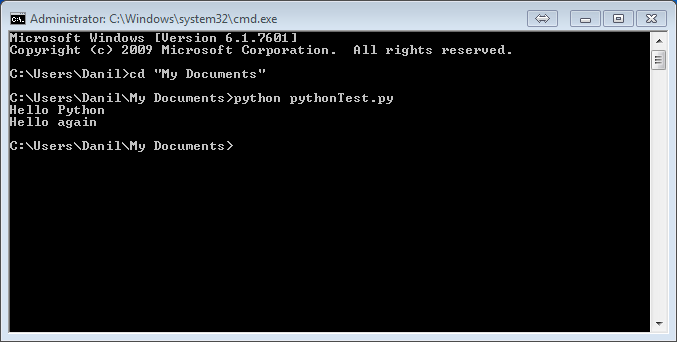
To make your life easier in the command line, you can hit Shift to try to autocomplete certain pieces of text, and hit the up arrow to call up the last command executed.
This concludes our basic overview of the Python environment. Next, we will start to get familiar with writing Python code by going over some of the major elements of computer programming.